Creating Presentations withinSoloFire
Meeting a prospective client face to face is a priceless opportunity. With SoloFire you can create presentations for your client using collateral tailored to that specific prospect’s needs. We have made it easy for you to prepare for your meetings and sales pitches, with instant access to the content you need. Here you will find everything you need to know about creating presentations within SoloFire.

Creating a Presentation
From the Content Tab
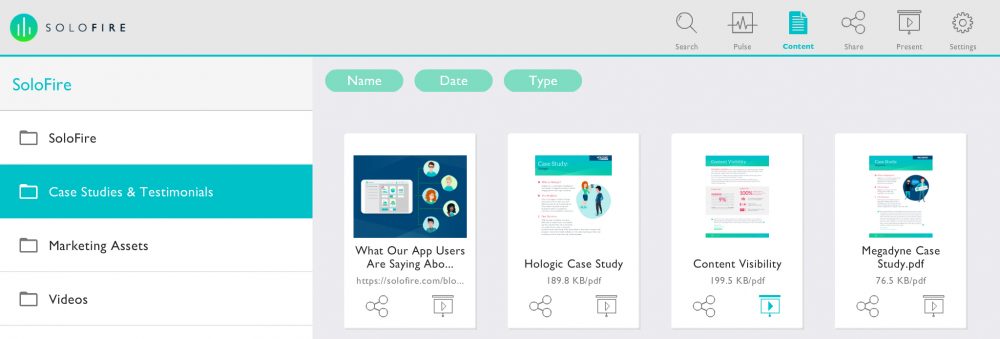
- Find the content you want to add to your presentation
- Click the Present icon underneath the file’s thumbnail
- Click + Create New Presentation
- Enter the name of your new presentation, click Done
- From here you can add that content to your newly created presentation
- Click Done
From the Present Tab
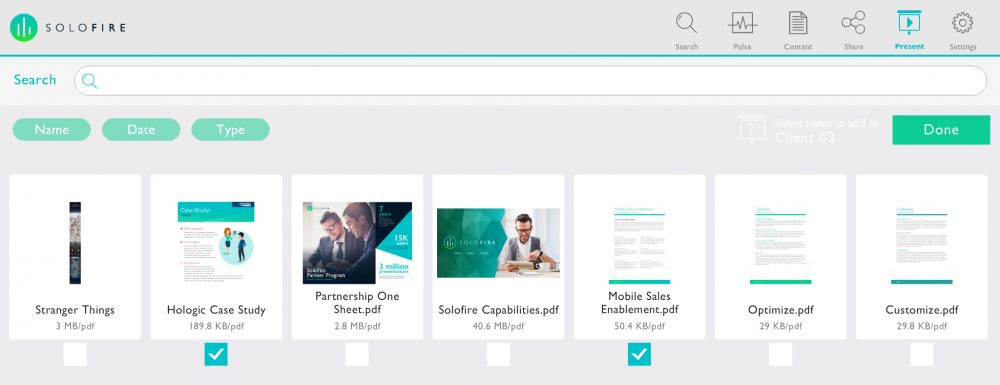
- On the left-hand side are your Presentations
- Click + Create New Presentation
- Enter the name of your new agenda, click Done
- From here you can select the files you want for this presentation
- After selecting the pieces of content you want, click Done
Adding Content to a Presentation
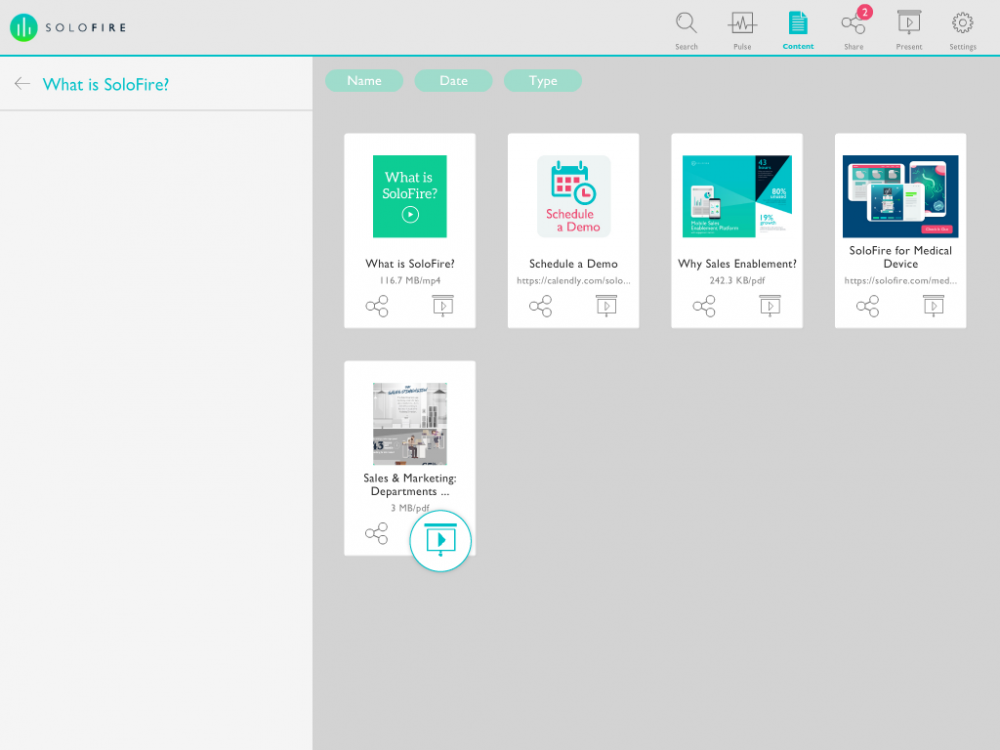
- Find the files you want to add to your Presentation
- Click the Present icon underneath the content’s thumbnail
- From here you can either add the file to an existing presentation or create a new presentation
- After selecting the desired location, click Done
Uploading Your own Content to “My Files”
Sometimes as a sales rep, you have files, such as personalized proposals or quotes, that you want to share and track. With SoloFire, admins can allow reps to upload personal files within the app. If this setting is allowed by your admin, you will see “My Files” under Content. You can add as much as content as you want, with flexible organization into folders. My Files is the best way for sales reps to bring their content into a powerful sales enablement platform. SoloFire makes it easy to find, show, and share track all your content!
**Content can only be added to the app via the SoloFire desktop app. You can still add web links via the mobile app!

- Tap the Content button
- Click the three-dot icon to the right of My Files
- Click Add New Folder
- Enter in your folder name and click OK
- Once the folder is created click the three-dot icon to the right of your folder
- Click Add Content
- Find the file you want to add and click Open
Presenting a Presentation
- Click the Present button located in the upper right-hand navigation
- Click the Presentation you want to present
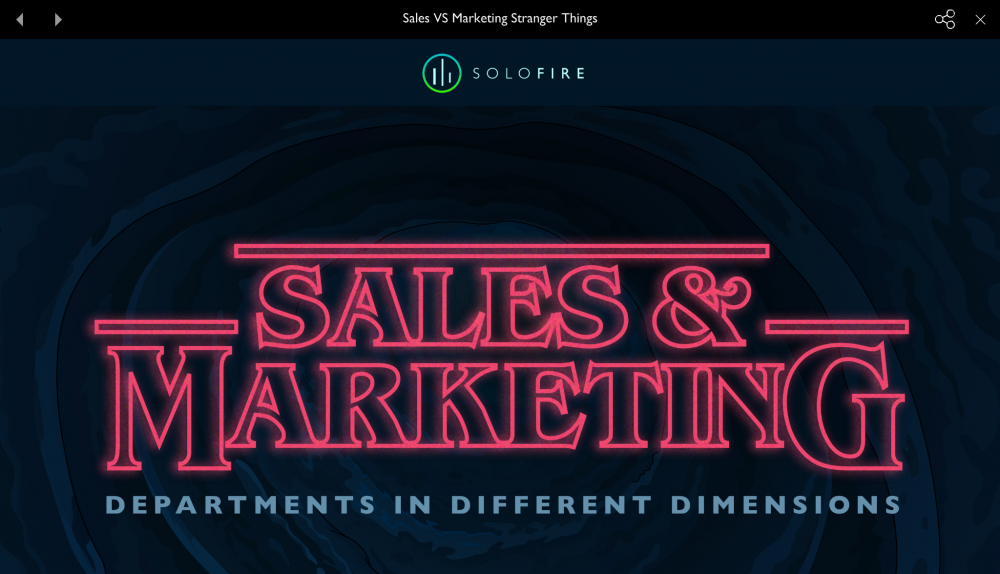
- To start the presentation, click on a thumbnail
- To navigate between content click the arrows on the top left
- As you are presenting you can add pieces of content to your share queue by clicking the share icon on the top right


