How to Manage Users withinSoloFire
We know that managing users can cause majors headaches. Hey, that might be one of the reasons why you started using SoloFire. You were over the headaches, the stress, the hassle, all of it. We get it, we were too. Our SoloFire admin platform is intuitive and user-friendly so managing users is headache-free. Yay!
Below you will find everything you need to know about adding and managing users within SoloFire!

Adding App Users
- First, log in to your admin account at app.solofire.com
- Click on Users
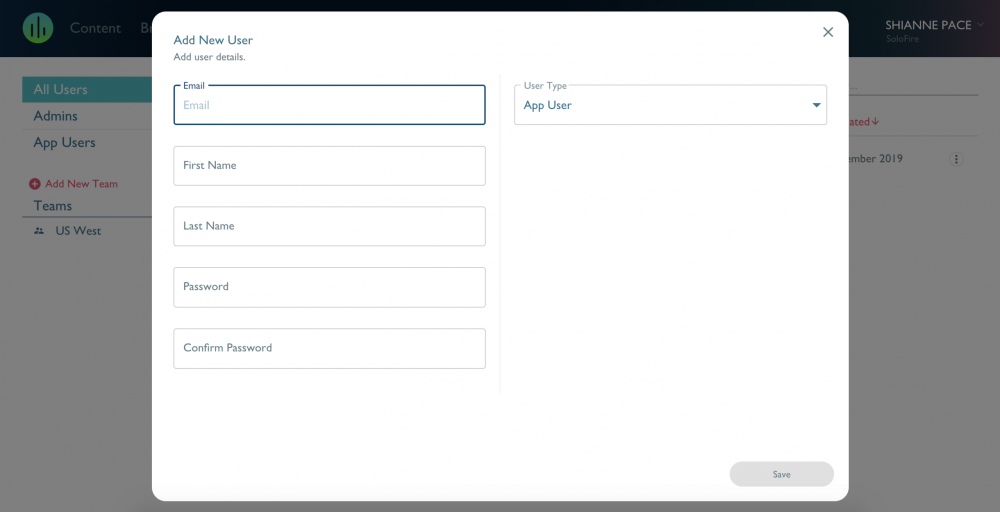
- Click on + Add New User
- Enter in the user details (the email and password will be their login credentials)
- first name
- last name
- password
- confirm password
- user type (admin or app user)
- Click Save
What’s the difference between an app user and an admin?
- Admin: has access to the admin platform (app.solofire.com) and can log into the app with the same credentials
- App User: has access only to the app
Editing App Users
- While in the Users section, navigate to the users you want to edit.
- Click on the circle icon
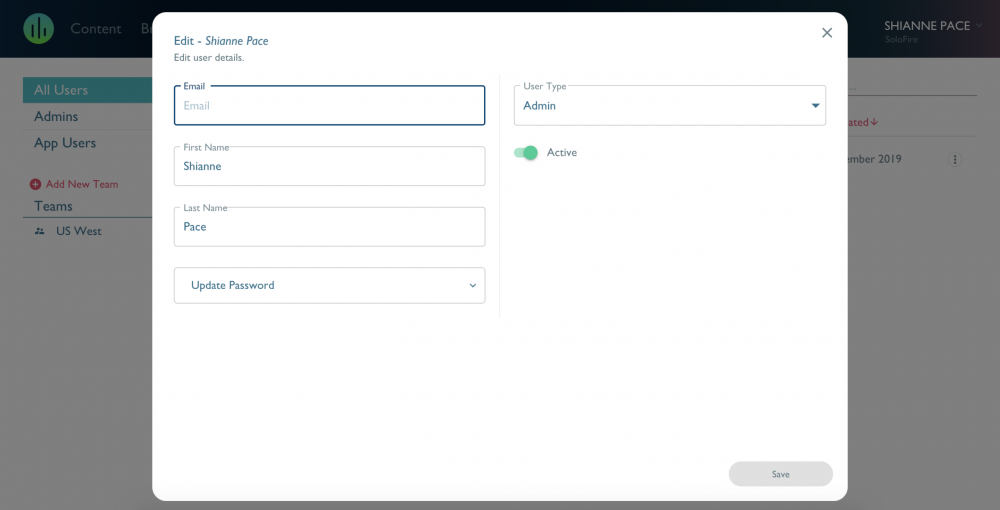
- Click Edit
- From here you can edit the email, first name, last name, password, user type, and if the user is active.
- When the user is NOT active, they will not be able to log in.
Creating a New Team
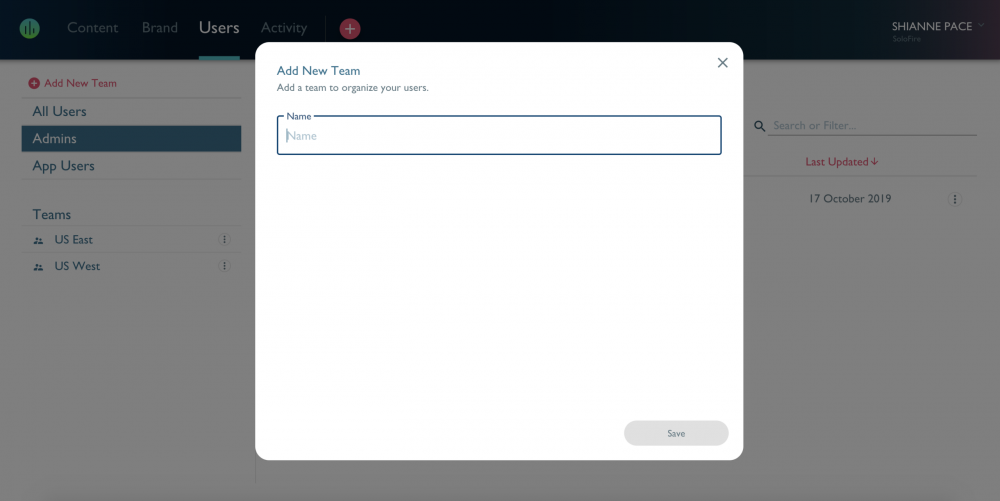
- While in the Users section, click + Add New Team
- Enter a team name, such as US West
- Click Save
- Select users to add to the team
- Click Save
- Next, you can add or remove content groups by selecting the desired groups and click Save
- If you aren’t ready to add content groups just yet click the X in the top right corner. You can always add or remove content groups later!
Editing a Team
- While in the Users section, navigate to the team you want to edit.
- Click on the circle icon
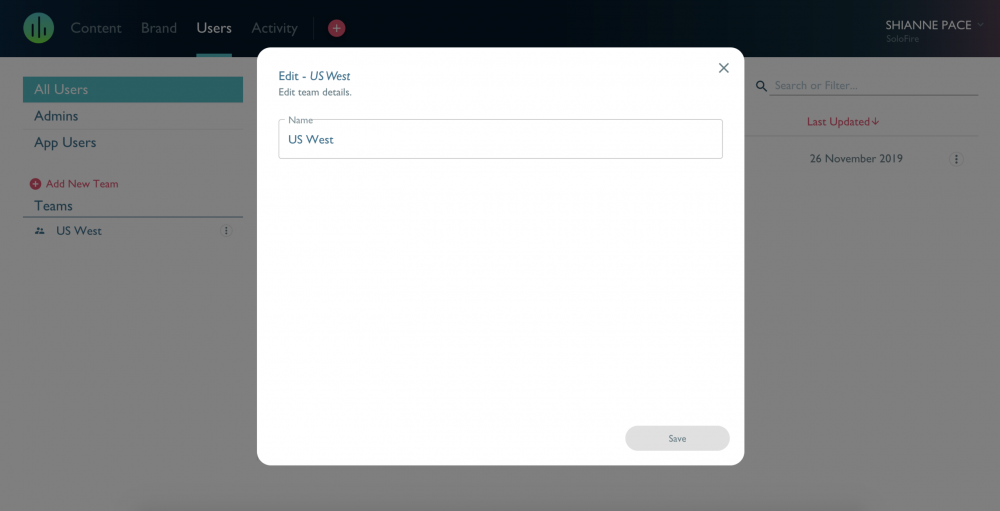
- Click Edit to rename the team
- Assign Team Members – allows you to edit what users are assigned to the team
- Assign Content Groups – allows you to edit what content groups are assigned to the team
- Delete from System – this deletes the team from the system